Paint offers the option to remove the background from an image; to see the necessary steps, select your version of Office:
Windows (versions 2019 or later)
Instructions for newer versions of Paint
1. Select the image from which you want to remove the background.
2. On the toolbar, select Format Picture > Remove Background or Format > Remove Background .
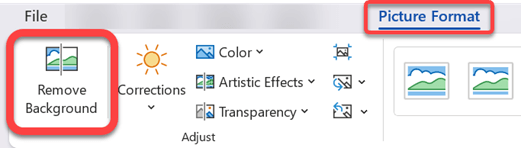
If you don't see the "Remove background " option , check that you have selected an image. You may need to double-click the image to select it and open the Picture Format tab .
3. The default background, which will be removed, is magenta. The foreground, however, retains its natural color.
4. If the default area is not correct, go to Background Removal > Image Tools and do one or both of the following:
- If some parts of the image you want to keep are in magenta (marked for deletion), select Mark areas to keep and use the freeform drawing pencil
 to mark the areas of the image you want to keep.
 - To remove other parts of the image, select Mark areas to remove and use the drawing pencil
 to mark those areas.
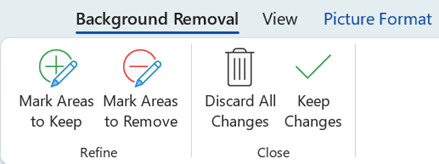
5. When you're finished, select Keep changes or Discard all changes .
To save the image to a separate file for later use, right-click the image and select Save as image .
Instructions for Office 2016-2010
1. Select the image from which you want to remove the background.
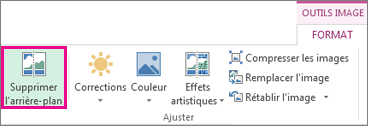
2. In Picture Tools , on the Format tab, in the Adjust group , select Remove Background .
3. Click on one of the selection line handles and drag the line so that it contains the part of the image you want to keep and excludes most of the areas you want to remove.
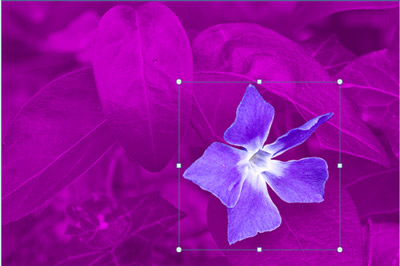
Sometimes, the desired result can be achieved without any additional work by experimenting with the position and size of the marking lines.
Tip: To unmark areas, select Remove Mark, and then select the line.
4. If the default area is not correct, go to Background Removal > Image Tools and do one or both of the following:
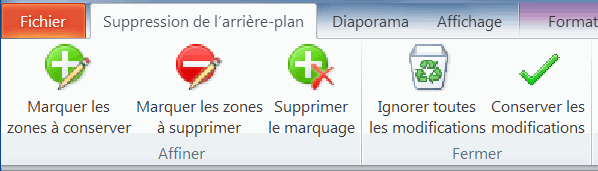
- Select the "Mark areas to preserve" option and use the drawing pencil
 to mark the areas of the image that you want to preserve.
 - Select "Mark areas to delete" and use the drawing pencil
 to mark the areas you want to delete.
5. When you're finished, select Keep changes or Discard all changes .
To save the image to a separate file for later use, right-click the image and select Save as image .
Instructions for macOS
1. Select the image.
2. On the Picture Format tab of the ribbon, select Remove Background .
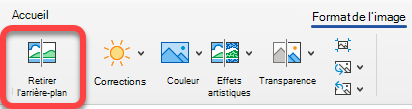
If the Remove Background or Format Picture tab does not appear , check that you have selected an image. You may need to double-click the image to select it and open the Format Picture tab .
3. The default background area is magenta to mark it for removal, while the foreground retains its natural coloration.
4. If the default area is not correct, under Image Tools , on the Background Removal tab , do one or both of the following:
Select the "Mark areas to preserve" option and use the freeform drawing pencil
 to mark the areas of the image you want to preserve.
Select Mark areas to delete and use the drawing pencil  to mark these areas to be deleted. 5. When you are finished, select Keep changes or Discard all changes .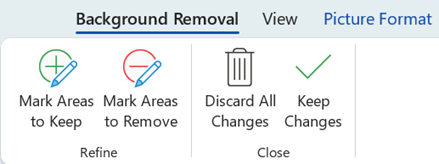
To save the image to a separate file for later use, right-click the image and select Save as image .
5. When finished, select Keep changes or Remove all changes.
To save the image to a separate file for later use, click the button to delete the image and select Save as image.